Classic Roasted Chicken
Yield: 3-4 servings
Hello friends!
It’s been a while since we’ve had time to say hi, but we are back! Moving forward this page will be a resource for you - one that will compliment the information we give you in the shop and can serve as a reference point when you need a little inspiration or information.
It felt only appropriate that we jump in and re-start this blog with a classic - one that will never let you down and that is good straight from the oven or as leftovers right from the fridge - the humble and spectacular roasted chicken. Here at Rainshadow, we like to keep our chicken simple. Our birds are air dried and then coated with olive oil, a heavy sprinkle of salt and freshly ground black pepper. At home, you have the opportunity to truss and season as you desire, we just encourage you to keep it simple.
You will need:
1 whole bird, 3-4 pounds
2-3 teaspoons kosher salt
1 teaspoon freshly ground black peppers
1 tablespoon roughly chopped fresh herbs (thyme, rosemary, sage, marjoram), optional
2 teaspoons zest (lemon or orange), optional
1 tablespoon olive oil (please don’t use your fancy stuff)
Optional: potatoes, root vegetables, carrots, cauliflower, and/or onions for roasting alongside your bird
Dry the bird: Place your chicken on a plate and let it sit, uncovered in your fridge for up to 24 hours in advance of roasting. This will allow the surface of the chicken to dry out, resulting in a crispy, golden skin.
Season the bird: If you have the time (and the foresight), season your chicken (inside and out) with the salt, pepper, and any additional herbs and/or zest you are using up to 12 hours in advance. Leave the chicken uncovered in the fridge. Before roasting, you’ll rub on the olive oil, making sure the entire surface of the bird has a thin coating of oil.
If you don’t have the time (or forgot), don’t worry! Simply remove the chicken from the fridge and season your chicken (inside and out) with olive oil, salt, pepper, and any additional herbs and/or zest you’re using. Use your hands to rub the seasoning evenly over the chicken.
Preheat an oven to 450°F, making sure an oven rack is in the middle of the oven.
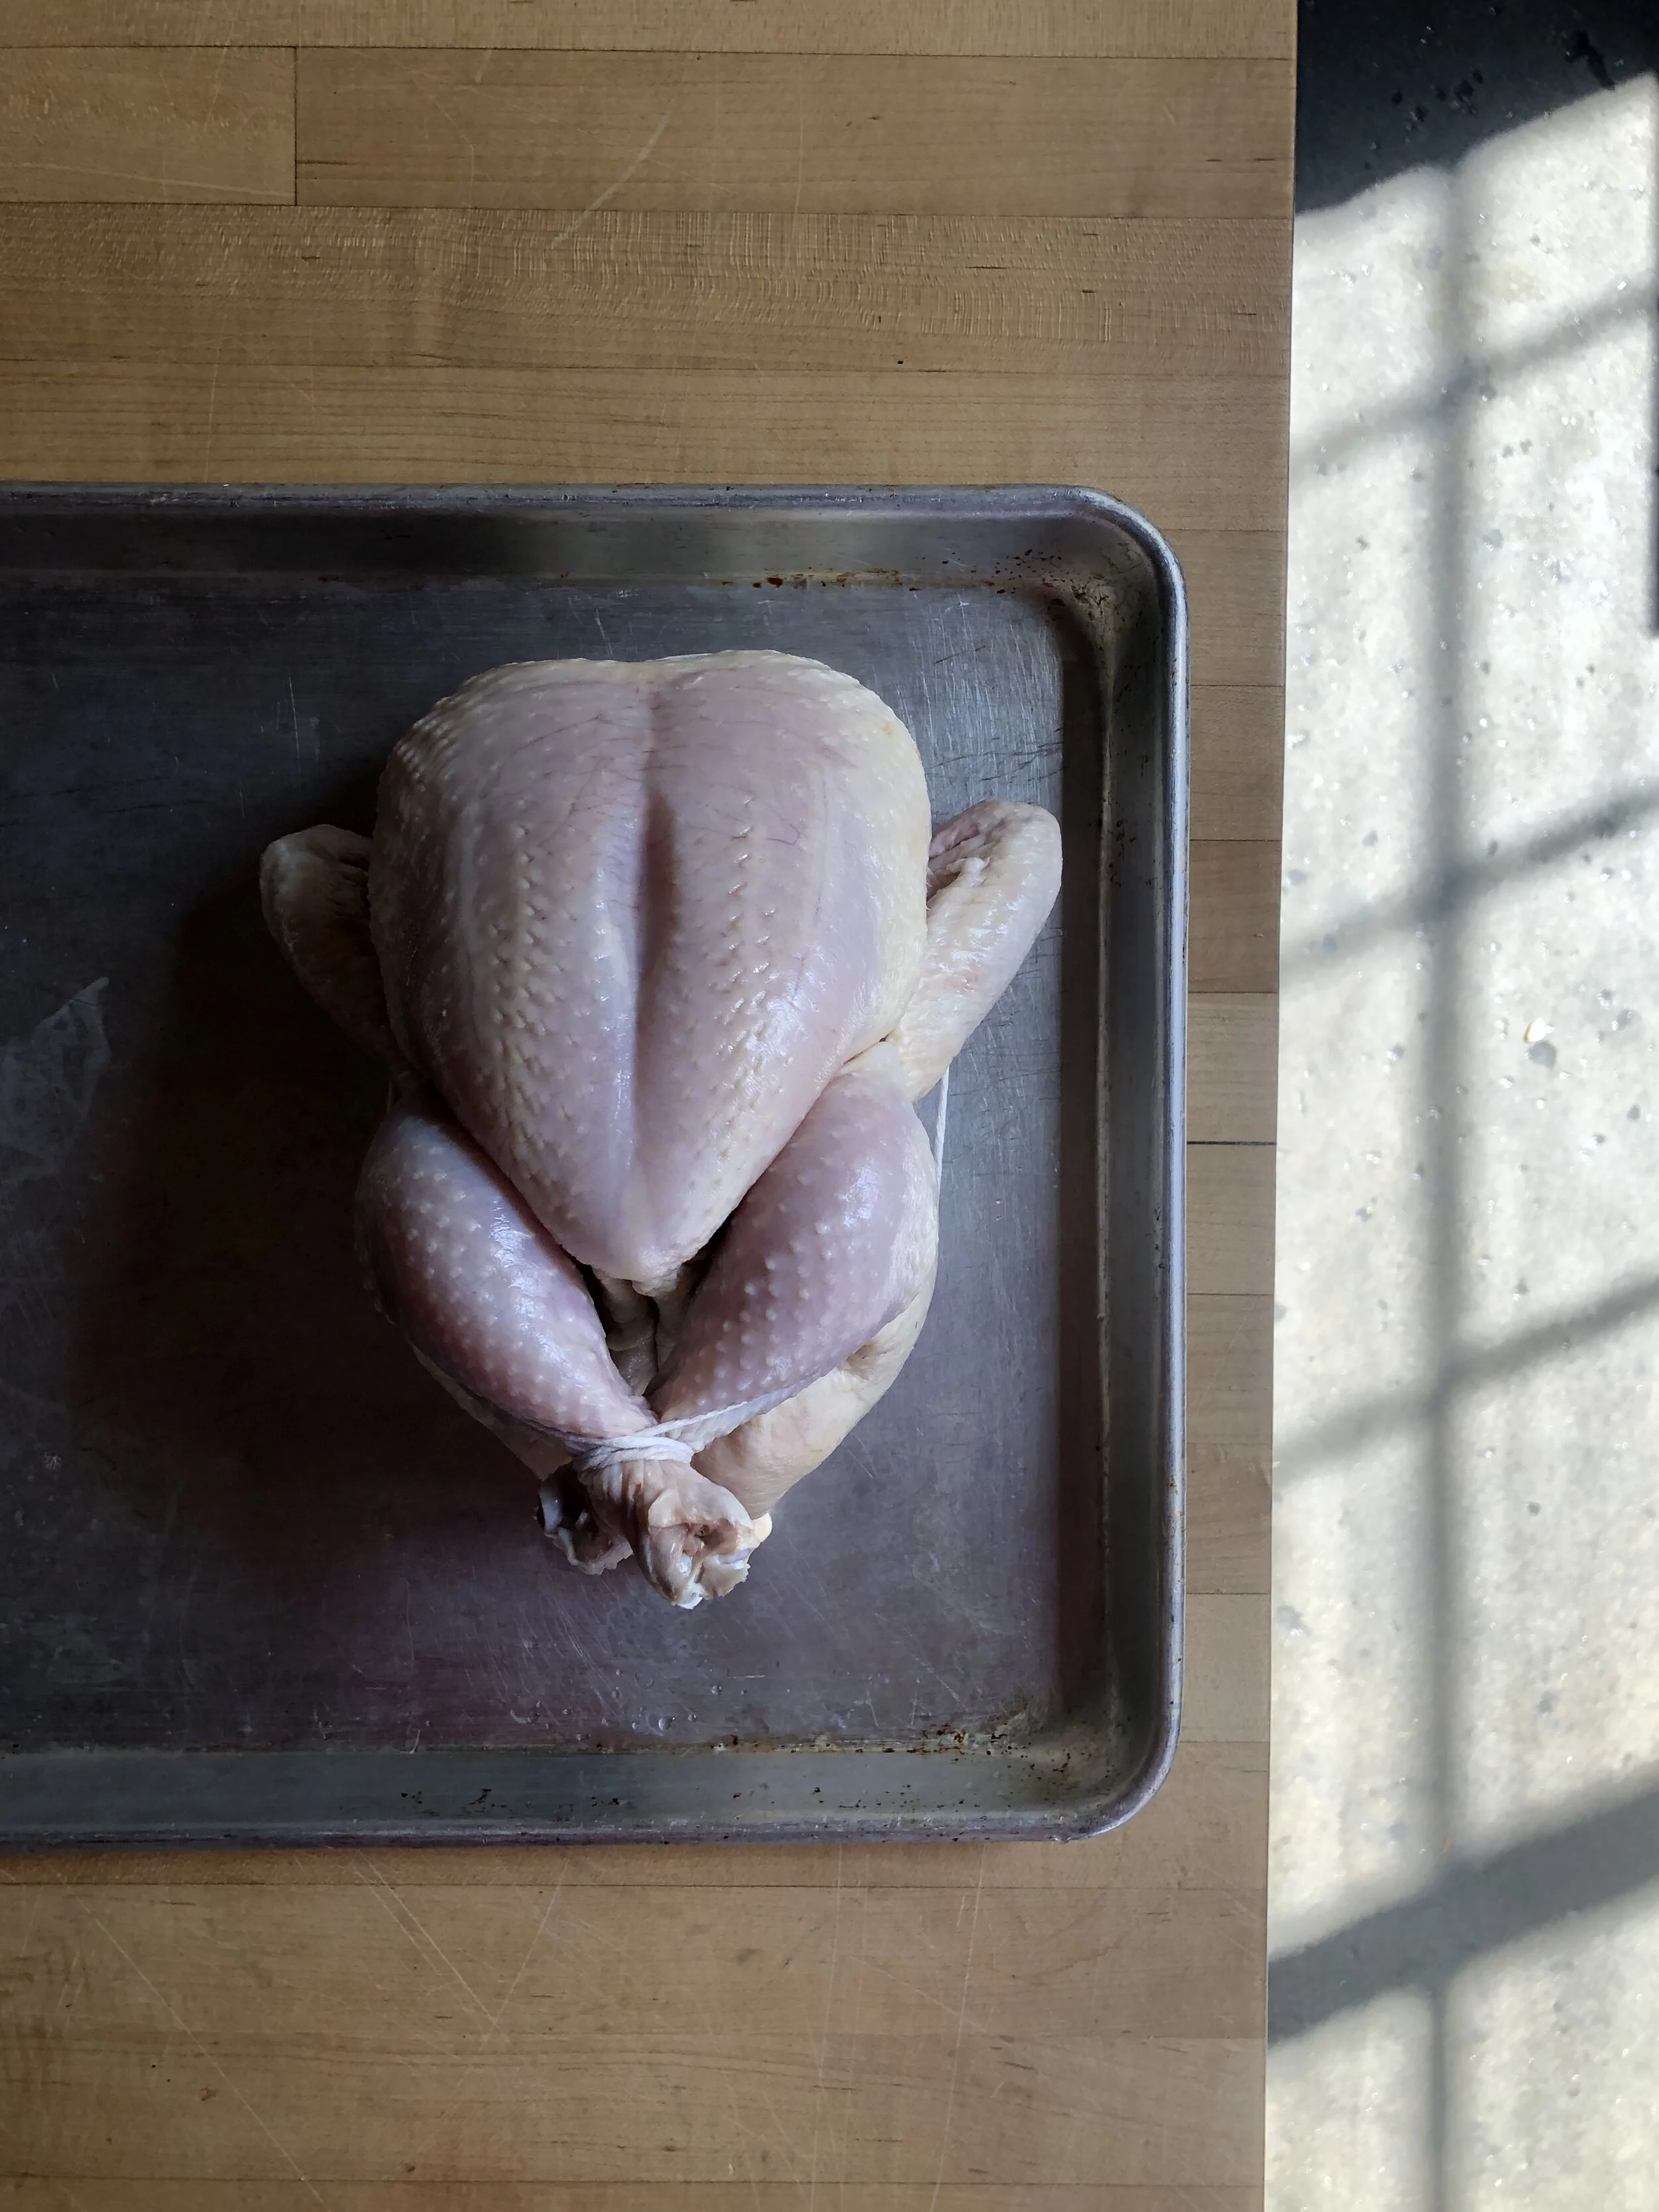
Truss the bird: Trussing your bird isn’t difficult, and will improve how evenly your bird cooks. The basic idea is to keep the legs and wings close to the body, we do this by simply tucking the wings up and behind the birds back (like it’s raising a hand and then scratching its shoulder), then we use a piece of twine to secure the birds legs close to its body. Trussing guide coming soon!
Roast the bird: When the bird is trussed and the oven is hot, place your chicken onto a baking tray or into a cast iron pan. If desired, toss any vegetables you would like to roast with the bird in salt and olive oil and add them to the tray or pan to roast alongside your chicken. Potatoes, root vegetables, carrots, cauliflower, and onions all work particularly well. Move the bird and the vegetables to the oven.
Eat the bird: After 50-60 minutes, your chicken should be cooked through and ready to go. If you have a thermometer, use it! FDA guidance suggests you cook your chicken to 165°F, so we suggest pulling your chicken out of the oven when it reached 155°F to account for carry over cooking (and to prevent it from overcooking). Always check the temperature in a few places. Without a thermometer, use the bird’s skin as a guide. Once golden brown, use a knife to make a small incision between the body and the leg. If the meat is white, without traces of pink and the “juices run clear” - you’re good to go! Let the chicken rest for 15 minutes before carving. This rest time allows the proteins to reabsorb some of the moisture lost during cooking.
Carve the bird: Separate the legs from the body and slice at the joint to separate the thigh from the drumstick. Remove the wings. Remove the breasts from the cavity by slicing along the breast plate and then sliding your knife between the ribs and the breast meat. The breast should come off with relative ease. Repeat on the the other side by slicing on the other side of the breast plate. Carving guide coming soon!
Serve: Serve as desired: We suggest adding roasted vegetables, a salad, a little Dijon mustard for dipping, and some crusty bread to soak up that pan sauce.
Leftovers: Store any leftovers in the fridge and consume within 5 days. Add chicken to sandwiches, eat it cold, make it into chicken salad, warm it gently in the oven, warm it in tomato sauce with plenty of capers and garlic - the options are (seemingly) endless. We suggest keeping any leftover bones in a bag in your freezer for stock. When you’ve accumulated enough bones (raw and roasted both work!), add them to a pot, cover them with cold water, add in a few bay leaves and peppercorns as well as some roughly chopped carrot, onion, and celery. Simmer for a minimum of 2 hours and up to 12, adding more water as needed.